The process of converting a lovely old farmhouse into an efficient cheap-to-heat comfortable home and the life we lead while doing it.
Saturday, August 30, 2014
Ripping Up Carpet
Of course, they'll be more to clean up, but for now it's a lot better and a lot further along. I feel like I gain a bit of sanity when I get an area cleaned up again.
Here's the doorway area where there used to be three doors:
Troy took care of that on Wednesday too.
Once I was done with that room, I tackled the carpet in the master bedroom. Cut it up, rolled it up, tied it up and carried it out. Then I took out the underpad in that room. (It had lost all structural integrity as they might say on Star Trek and had to be shoveled off of the floor and carried out in bags.)
Yes, look at what I found under the carpet! A lovely blue paint on the floor. If I knew that was there, I would have ripped out the carpet long ago. The blue is not a colour I would pick, but I love it. Certainly it would have nice enough for me to enjoy for the last 8 years instead of that awful carpet.
When Troy got home, I excitedly showed him the floor, but he couldn't see anything but an ugly floor. He likes the "wood-coloured" one in the spare room. It seems I will never be able to convince him that painted wood floors look good. (I wouldn't put them everywhere, but I do really like them.)
From the condition of the underpad and carpet, Troy figures they went in in the 70s. That means the painted floor is likely from the 60s or earlier. It was a lovely surprise when I pulled up the first bit of the underpad. I think it's the first bit of "pretty" we've uncovered while taking apart this house.
Saturday, August 23, 2014
Moving On Up
Then came the sledgehammers. Well, not quite, but you get the idea. We tackled the master bedroom first.
Part of that involved taking out the one window. To fix the problem from the outside, we mounted this quilt square that I made last year:
Yup, I have a maple leaf block on my house. I love it.
You know we always find head-scratchers when we take stuff apart around here, so look at the window:
Notice anything?
Ok, it may be a little hard to notice since the picture was taken after Troy fixed it and squirted insulation everywhere, but there was no header on the window opening. There are some pieces of wood that go across the top, but it's not a header. They just span the space between each stud. Crazy.
And the closets:
Why build a frame when you want to add a doorway? Just cut the stud and put some trim around the opening. Craziness. (In the master bedroom that was done in a load-bearing wall.)
We also found some wasp nests:
That's a paper wasp nest on the left, and I guess a "regular" wasp nest on the right. Troy took one out for a closer inspection:
Just what you want to find in your walls, right? These appeared to be old. I think we sealed up the entrances when we did work on the outside a few years ago.
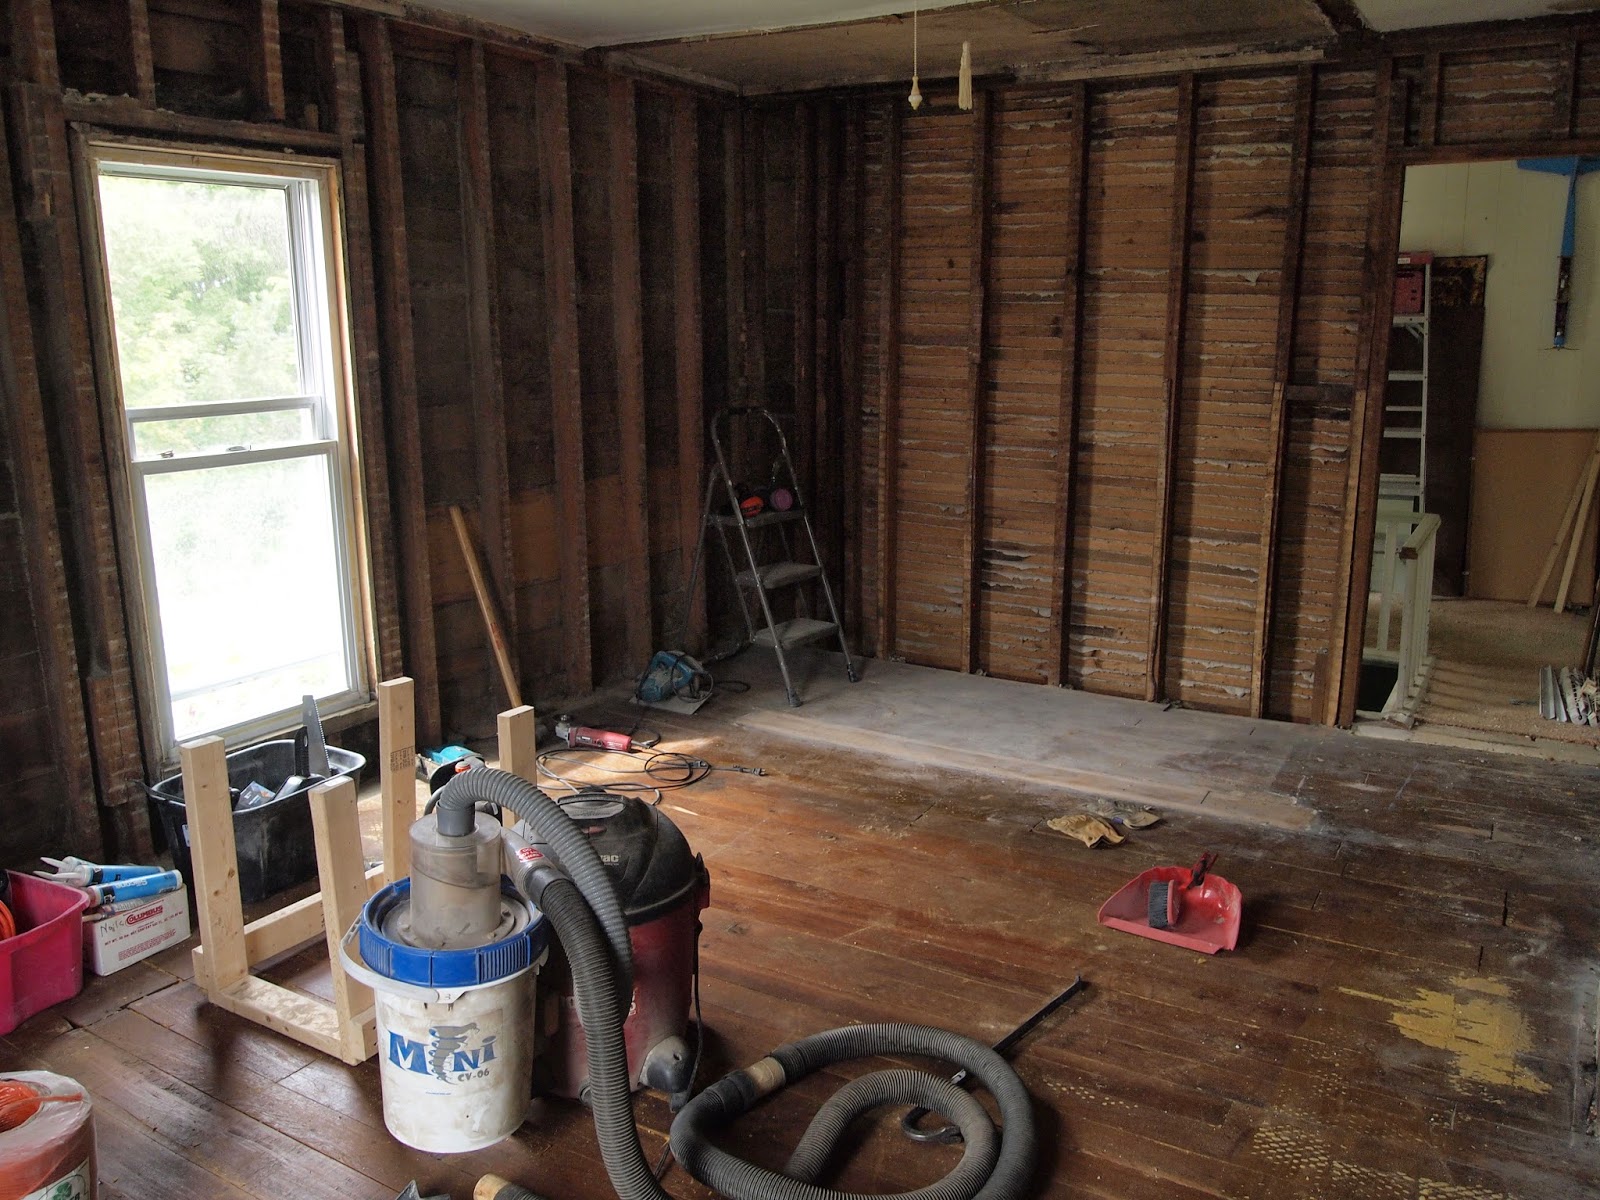
Once that bedroom was done, we moved onto the west bedroom which will turn into our closet and bath. I finished all but one last small section of wall today:
It was very exciting to me to open up the wall between the two rooms.
And today I enjoyed opening up what was the closet space. Fortunately, we're going to be able to take out that wall because it is not load bearing. Although the layout is not finalized, I'm pretty sure that will be my bathtub/shower one day. (That is what is motivating me through this--my mantra of "master bath. master bath.")
All this work upstairs has made a mess downstairs. Unlike modern houses where the different floors are separated from each other, this house is "balloon framed" so there is one continuous space between the studs from bottom to top. So we have a lot of plaster falling down through those holes. These holes in the closet run along the stairs and go right through to the basement I believe:
At some point we are going to have to remove these doors, frames, etc.:
| Hmm...adding one more door would make this the Tardis (inside out). |
| Closet and spare bedroom doors. |
| Spare bedroom and master bedroom doors. |
I also was amused to see this extension cord still carefully threading its way through the doorways.
We have a lot of lathe and plaster piled up behind the house. Troy found a dump that will let him unload it by the pickup truck load. Much better than putting it in trash cans!!
Tuesday, August 17, 2010
The Beginning of the Kitchen Saga (I Assume)
Troy and Isaac dismantled the main support beam the other day. There used to be an exterior wall there. At some point, someone took out the wall and bumped out the kitchen onto a porch. I am assuming that's when they put this support beam in.
We don't know when someone nailed on some extra boards to the side to "help" the beam do its job. But the boards didn't span the length, and in fact the interior one turned out to be two shorter pieces nailed to the beam. In short, they did not help the beam but just added more weight to it.
I don't know if you can see in the picture, but it sags quite badly in the middle. And then, as if there needed to be more, the north end (far end in the picture) was not supported by anything. It's hanging off the second floor. That's not how it supposed to work. So there will be some structural improvements to the kitchen.
And we are now thinking we are going to have a beam as part of the look of the ceiling. We don't want to bring the entire ceiling down low enough to hide the beam, so we'll cover it with some nice looking wood and make it a feature. The ceiling to the west of it, over the porch, will probably be a little lower and drywall. The ceiling to the east will be a little higher and suspended.
Then yesterday, more "real" work began. I came home to this:
You can see they are taking apart the exterior wall. That will be the first concern. But the cabinets are next. They'll be moving to the shop to be filled with soap-making supplies, I believe.
When I came home and walked upstairs to say hi to Isaac, he apologized for the mess in the kitchen. They tore out so much he wasn't able to clean it all up by the end of his "work day." When I walked back into the kitchen I noticed this:
...for the first time! When I walked through it on my way upstairs, I didn't even see it. I was focused on the walls and work being done. And I'm pretty good with SEP fields. (That's Someone Else's Problem--read Douglas Adams.) And Isaac apparently thought a mess in the kitchen was a much bigger deal (and more uncommon) than I did. (Bless his heart.)
So who knows how long the kitchen will be out of commission. I'm scared to guess because I know it's always at least twice as long as you think. Meanwhile we'll be setting up in the dining room. We ate our first meal there last night:
And Troy noted that it was the first time ever, actually, that we ate in our dining room. (We had spaghetti in case that's significant.)
We'll be setting up some shelves for the food and dishes that are in the kitchen. The dishwasher and fridge are already in a different room (where they've always been); we have a microwave; a sink in the bathroom off the kitchen; and Troy just bought a hot plate to replace the stove. (Plus there's the barbecue and crockpot for other meals.) We're going to try leaving the stove in for as long as possible, though. It's not on an outside wall so it may not be too much in the way, and it's sitting where the fridge will go so no cabinets need to be installed there. We'll see.
And that's life at Maple Leaf Gardens. Grab your crowbars, boys; we're going in!
Saturday, April 05, 2008
Recent destruction
Troy ripped off the panelling (living room side) and plaster and lath (dining room side), we took out some more of the suspended ceiling in the living room, removed trim, and opened up the passageway by a few feet:
Partway through the work:
A view from the dining room looking into the living room:
Things got a little messy, and we went back to the fifties by covering our furniture with plastic:
We're thinking about keeping it...ha ha. Ok, maybe not.
And, as promised, pictures of the new windows. Here is the old south-facing window that's still in the living room:
And here's the new south-facing window in the living room:
Double pane, argon filled, I believe. We will enjoy the new clearer view and fewer drafts. Very nice.
All for now. I'm hoping to do some yard/garden work today. It's sunny so I'd better take advantage. I'm installing something to try and hide the propane tank which is smack in the middle of the east yard. Not pretty.
-christina
Tuesday, April 01, 2008
Winning the war against cold.
OK, technical update for those interested in remodeling an old house.
As you can see from the photographs posted by my lovely wife, we gutted our dining room. I tore the plaster off, then the lath boards, then removed the (spotty and inadequate) cellulose insulation. So, right down to the bare studs. There is nothing quite as dirty or quite as satisfying as tearing plaster off a wall with a sledgehammer and a crowbar.
I debated for a time about leaving all the old stuff in place, and just building the additional wall to give us 12” thick walls when finished. The old walls would contribute some insulating power, and the new insulation/wall would do most of the work.
The problem is two fold. First, I really want to control air infiltration. On a windy day, the effectiveness of most insulation can drop dramatically if air infiltration is not controlled. This is especially true for fiberglass insulation. The reduction can be as much as 50% and it happens when you need the r-value the most.
With new house construction, this is easy. Just wrap the house in Typar or Tyvek on top of the plywood sheathing (before the siding or bricks), and you’re done. Of course, I don’t have that luxury since I am not tearing the siding off my house. As an alternative, I put the “house wrap” on from the inside. I cut a piece of Tyvek for each stud bay and staple it up. If you examine the photos, you see that the Tyvek makes a “C” shape in cross section, since it’s installed on the left stud, the wall sheathing and the right stud.
Once the cellulose is blown in, this will push the Tyvek tight against the studs and sheathing, and will help seal the house wrap to the framing, reducing air infiltration. Without tearing out all the old plaster, insulation, etc, I could not install the Tyvek in the proper place.
The second half of the problem is the fact that this is an old house. I really want and need to know what’s inside those walls. So far, we haven’t found any bad concealed termite damage except in the basement. That’s the nasty “swiss cheese” wood you see in the other photo, now gone/replaced. But the previous insulation job was absolutely terrible. Either they did it themselves, and badly, or a contractor did it and figured the owner wouldn’t know the difference because you can’t see it. I would estimate that 30-40% of the wall was uninsulated.
So the general idea is to tear the old stuff out right down to the studs. Line the wall with Tyvek, build a second wall to make the total thickness ~12”, install all new wiring and plumbing as needed, then a new vapor barrier, then dry wall. Then we blow a foot of cellulose into the wall, finish the drywall then paint and trim. This technique works well for big older homes with nice big rooms, since you will lose at least eight inches on every outside wall. For a house with smaller rooms, you need other techniques like adding the insulation on the outside, or using super high r-value insulation where you can get away with a 6-8” total depth.
That's it for now, tune in soon for further exciting developments.troy


